I have had ombré fashion in the back of my mind for far too long. Not only is it beautiful to see as element of fashion, but it is also something I have not yet tried. This post’s dress makes up for such a discrepancy. I am still finding new and unexplored avenues of style!

Ombré is French for color tones which gradually blend from light to dark. Nevertheless, the word can also apply to one shade progressively decreasing into another different hue. This latter interpretation is often seen as a method for dyeing hair or on the canvases of artists’ paintings. Ombré – also called gradient color – can be found on fabric, ribbon, thread, and yarn, as well. It is often used as a quilting technique to tile the blocks in complimenting shades of color for a gradient effect best appreciated from a distant view. Ombré colors can also be spotted on designer fashions where it is frequently hand-crafted as a gradient painted or dipped dye. Outside of the couture or quilting community, ombré coloring is conventionally achieved on most material today by either screen printing or by weaving pre-dyed yarns, as is done for textiles like boucle, tweed, and jacquard.

Keep in mind the natural form of ombré is free and on display regularly across the ‘canvas’ of the sky. The transfer of day and night at either dawn or dusk can offer the most spectacular display of gradient color the mind could ever imagine. This post’s dress may only a paltry variant of the heavenly pageant, but my chosen fabric is named after the beauty of an evening sky, the original ‘real deal’ for ombré inspiration.

THE FACTS:
FABRIC: Robert Kaufman combed 100% cotton “Sky” Tonal Blender Ombré in the “Evening” color scheme, designed by the fabric artist Jennifer Sampou
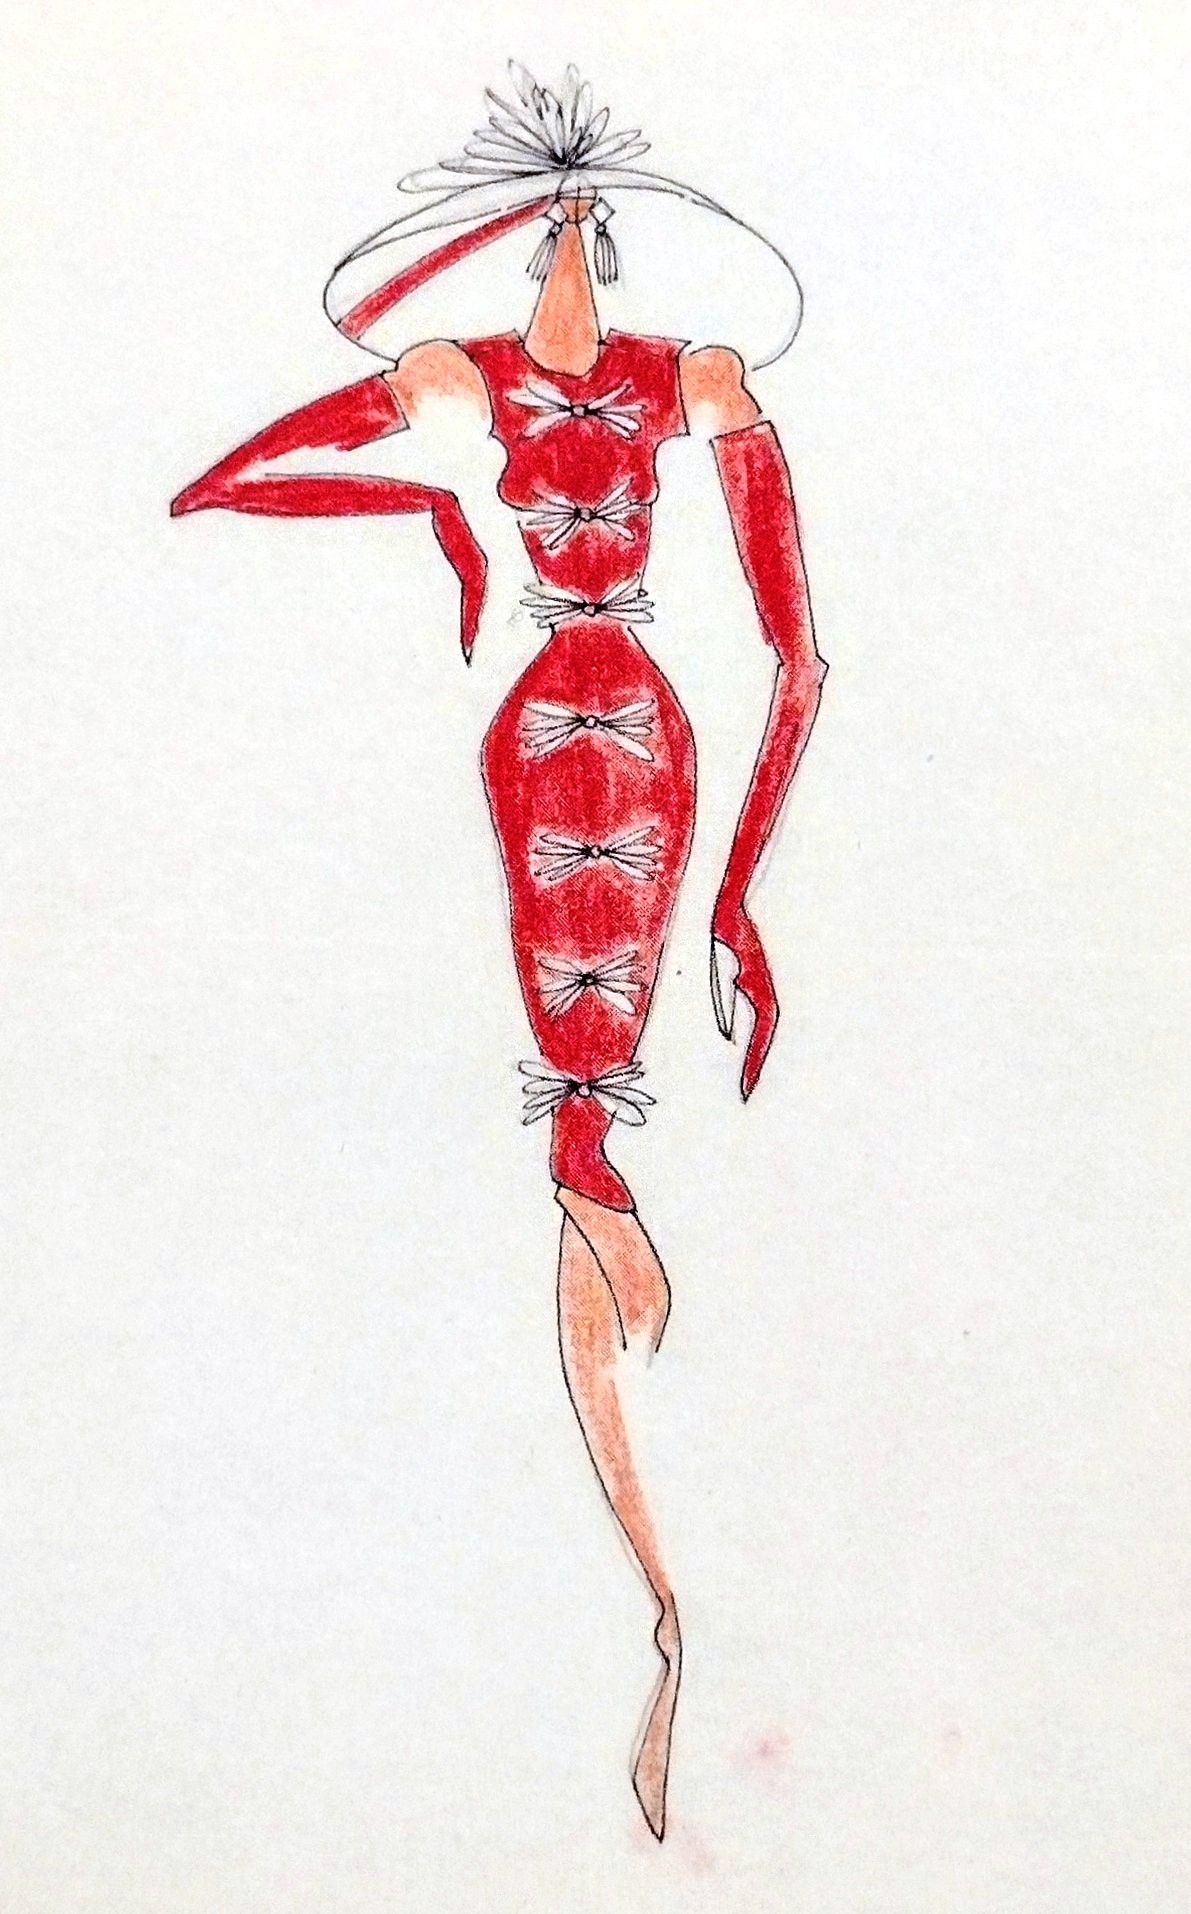
PATTERN: a New York mail order “Prominent Designer” pattern by “Brenner Couture” from circa 1975 (that is the postal cancellation date of the delivery on my envelope)
NOTIONS NEEDED: one long zipper, lots of thread, and some bits of interfacing for the collar
TIME TO COMPLETE: This was made in about 15 hours and finished in May of 2021
THE INSIDES: cleanly finished with my faux serging/overlocking by tightly zig-zag stitching over the raw edges
TOTAL COST: 3 yards of fabric cost me $36, bought from “Bits & Pieces” shop on Main Street in downtown Hannibal, Missouri

For my dress I paired an unusual gradient toned fabric with a great design from the hands of an all-American woman designer, Eleanor Brenner. She is surprisingly not very well-known for all the achievements, charitable work, and innovations accomplished in her long life, as recounted in my recent ‘designer spotlight’ post (which you can visit here). Eleanor Brenner passed away in April 2023 at the age of 89 (read her obituary here) yet her legacy lives on in anyone who has felt represented by her thoughtful garment designs, aided by her salt-free cookbook, inspired by her contribution to the fashions of the White House, or assisted by her youth foundation in New Mexico. I hope that following up on my biographical memorial to her, this gradient dress will be the next step to further showcase Eleanor Brenner’s design ingenuity in a singular way.

As can be seen in my account of Mrs. Brenner’s life, this post’s project is not the first piece of hers that I have worn, but only the first self-made. It felt like such a privilege to find a sewing pattern from a designer that has a special place in my heart. Brenner’s clothes are one of only two other designer brands (Betsey Johnson and Moschino) who are spot on with matching the petite proportions of my shortened torso. My shoulder to waistline measurement is almost an inch smaller than the “average” woman. Being of the same 5’ 3” height as myself, Eleanor Brenner specifically designed the styles of her brands to flatter women of reduced height so that others like me could have stylish, quality, versatile clothes which complement a diminutive frame.
After buying my own Eleanor Brenner pattern, I found an Etsy seller (who had another one of the same pattern to sell) showcasing an old newspaper advertisement for the pattern. The title to the clipping says the pattern was offered exclusively through the Enquirer. The ad clipping text also says that the original dress behind this pattern was listed as running for $150 in high-end stores for November 1974. It was only $1.25 (with an extra 25¢ for shipping) to buy the pattern! Brenner apparently offered this dress design a whole year before the 1975 date on my sewing pattern’s cancellation stamp, so it must have been a popular design for her. The ad clipping also enables me to jump on the inflation calculator to find that the original $150 dress would equate to about $900 today! That sounds like very fine fashion, indeed.

The ad brags one should be able to sew this dress for $25. When you consider inflation together with the fact that my own dress cost me barely more than $10 above that estimate, I feel that owning this pattern is like finding a goldmine. I liked this Brenner dress at the pattern stage just by design lines alone and for its designer attribution. Yet, the way a plain cover illustration is brought to life in an unexpected way with my special fabric still makes me giddy every time I wear this dress. Not too often does a design really surprise me so nicely, when it get sewn up, as this one did. It really won me over once it was a finished project on my body.
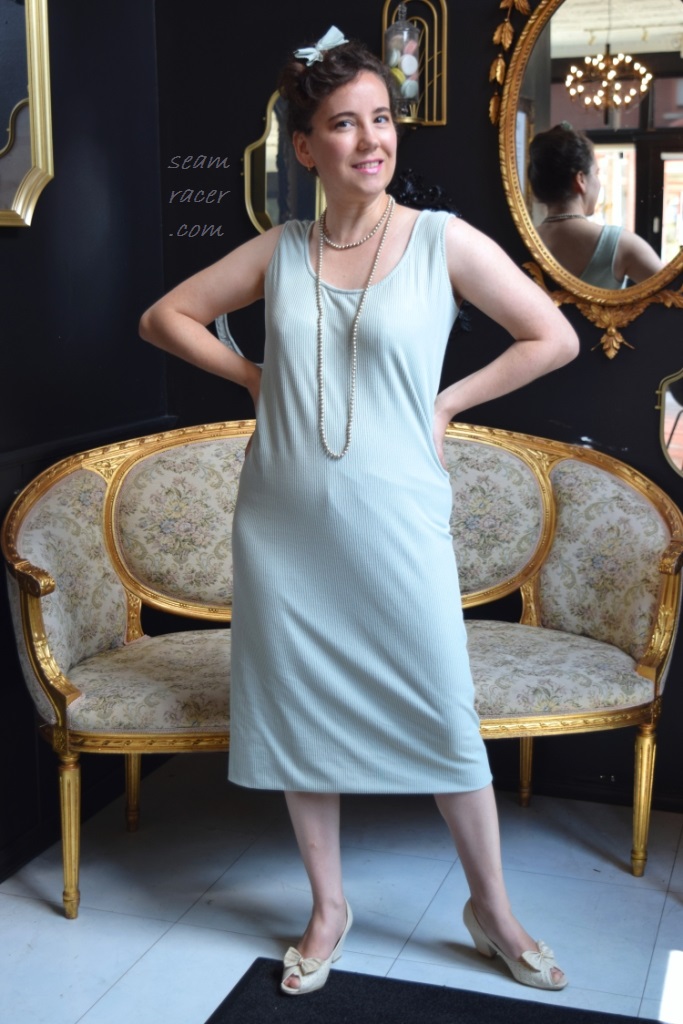
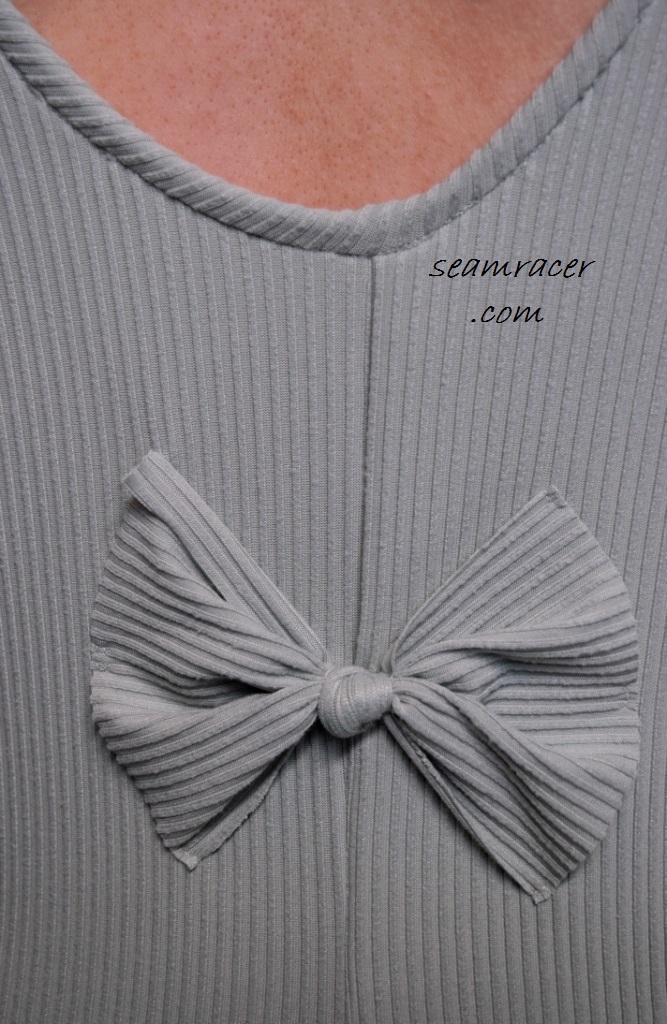
Brenner’s dress pattern is a classic example of the idealism behind her designs and the reason why she ultimately found success. The multitude of long vertical seamed panels slenderize in a simple, unfussy way. Such an ideal of visual trickery was the base of her principle for dressing shorter ladies. The large collar is both very 70s and good for widening small shoulders to minimize emphasis on the torso. The flared silhouette is easy for an active woman to move in while staying elegant with its swishy hem. The zipper closure makes this a dress that I can put on in an instant, too. I can fancy up this piece with heels, nice jewelry, and a sleek hairstyle or go casual with tennis shoes or loafers and simple accessories. This dress offers all the perks (except pockets, which I didn’t have extra fabric enough to add). It is the answer for my life’s every occasion – school pick-up time, errands to run, dinner date with hubby, and especially a travel wardrobe. I was on a trip out-of-town when we took these pictures, and after a whole day of sweating on a hot day and walking all over town, this dress kept me comfortable, fashionable, and happy.

I wanted to interpret this pattern through the lens of my own ideas while also being balanced with Brenner’s penchant for color and interesting details. Most of Brenner’s pieces seem to be fine silk or high-end fabrics. However, in my hands, I chose a thick Kaufman brand Pima cotton sateen. The advertisement for this pattern (addressed a few paragraphs above) mentioned that Brenner’s original versions of this dress were made of a tricot double knit, and that is good to know a woven is not a necessary choice here. However, I felt the brushed appearance to the ombré print of this artist-based cotton perfectly played into Eleanor Brenner’s history of painting while still keeping to her preference for solid tones. I have found painterly prints with a sky theme on other extant dresses of the 1970s (not by her), so I liked feeling that I was still staying true to the origin era for the pattern. If I was going to make an ombré dress, I wanted to find a specific micro-trend for it, and happily the 1970s showed up as the decade which enjoyed a similar print. Everything lined up for this Brenner dress to be anything but basic and definitely have a whole backstory of its own!

The artist behind my amazing ombré fabric is Jennifer Sampou, who licenses her designs to Robert Kaufman Company. It has been said of Jennifer Sampou that “Wanderlust keeps her eye sharp and curiosity leads her around the world seeking color and art.” It sounds like an ideal similar to Eleanor Brenner’s and explains why Sampou offered such a beautiful sky print ombré fabric! The camera sadly doesn’t do proper justice to all the lovely subtleties of color that are on this evening sky print in real life. There are swirling hints of peach, pink, and powder blue as the dark colors progress upwards. The dark tones have touches of green and purple, with flecks of white looking like stars in the night. This ombré print was better than everything I enjoy about working with a border print. I love how the multitude of panels in my dress bring the darkest ombré colors up to differing levels as if I dipped myself in a tub of dye and it seeped up the fabric unequally. This project marks my second time using Sampou’s rich toned, whimsically unique fabric, so it is safe to say I am officially a fan at this point. My first Sampou cotton was for my “Queen Bee” honeycomb print dress by the great Mary Quant, another designer who passed away in April 2023 along with Eleanor Brenner.

Between understanding the fit of Brenner’s original pieces (as seen in this post) and knowing how many vintage mail order patterns have a roomy fit, I expected this dress pattern to run on the generous side, even though the pattern was in my size. I was correct in my thinking, and had to size down in Brenner’s pattern just the same as I do for her clothing line. This was a good sign of a true designer pattern. It had been scaled to a size chart other than her own. This circumstance also made me very glad I had tried out her original garments beforehand so I could know what sizing peculiarities to expect when sewing my own version. I had done the same thing for Betsey Johnson – wearing original pieces first, learning the fitting intricacies of the brand, and then finding the same proportions when sewing from that designer’s pattern. This Brenner design has taught me that unidentified vintage mail order patterns did release high end designs and I will not be so quick to overlook them anymore.

The pattern has 6 flared, princess-cut pieces to compose the main body. Being cut on a double layer of fabric, this dress has 12 full panels. There were therefore many very long seams to sew. This meant I used at least three whole spools of thread. It also made fitting both easy and tricky at the same time! The 3 yards of fabric I bought were just enough to squeeze a shorter under-the-knee version. In order to keep the darkest color at the bottom of my dress, the fabric’s 45” width dictated the hem’s length. I opened up the fabric and folded it an unorthodox way…along the weft…for a length 1 ½ yards long (double thickness). Every hem piece butted up against the next along the dark blue gradient end, and happily it all fit. The collar, front facings, and sleeve pieces were squeezed into the few open spots left between the princess seams.
My only change to the pattern was to move the zipper from the center back to the center front. This switch keeps this dress easy and effortless, and required no change in the pattern. There was a center front seam anyway, and I just placed a zipper there instead of sewing that spot together, as per instructions. I was not sure if a zipper down the back, going through the collar, would have worked out all that well, anyway. Either way, I didn’t feel like trying it out this time around!

As a treat, I used a special lightweight zipper. It has a decorative pull tab and very tiny teeth in a beautiful light blue color for a closure which feels so much finer than most apparel zippers. This zipper came from a shop which supplies notions for sewing doll clothes. I bought it on a whim as a novelty item since it was on a very good sale Now that I tried it out, though, I will definitely be using these kinds of zippers again. Doll zippers are not a strong closure for a seam under any stress, but my dress is loose in fit so I figured this was a safe experiment. The minuscule teeth are so fun and clean looking, though! The zipper glides soundlessly like butter and is nicely flexible. Choosing a delicate zipper really elevates this dress to the level of its designer origins and gives me yet another unique piece in my wardrobe.

To match my designer fashion with couture techniques, every seam besides the inner main body of the dress was hand sewn. The skirt and sleeve hems were invisibly prick stitched by hand. The zipper was installed with hand stitching and as was the entire collar, neckline, and facings. Not that you can tell the hand stitching is there. I put extra care into the dress so that there is not a glimpse of thread to be seen and the exterior presents as cleanly finished and professionally made. Brenner’s original garments that I own do not shy from using machine top-stitching, they just do a very good job at hiding the thread in the ditch of seams. There was nowhere to ‘hide’ the thread on this dress, and it was either all or nothing. Making quality, well-made, thoughtfully considered garments is my passion and so I enjoyed several focused hours of hand-stitching. I truly love not cutting corners! My maker’s pride expects no less than the best I can do at the moment. My interest in Eleanor Brenner led me to sewing one of her designs, and so I owed it to her to put as much heart in this dress as she poured into creating her fashion line.

Finding out about the unrecognized, less mainstream designers is important because it gives acknowledgement that every talent of each person is valuable. Small designers show that you don’t have to “make it big” to be a messenger of positive change in the world. Eleanor Brenner shared her blessings in life with others through her many talents. The fact she made a difference wherever she went was enough for her to be happy with her measure of success. Her wonderful influence and vivacious energy can be felt for anyone who comes into contact with her story. Such designers, hidden from the major spotlights, often happen to be incredibly interesting and wonderfully relatable, making it all the more the shame that they never reach the radar of many people. Hearing of a successful designer juggling family time with a healthy life balance is so very realistic to me. I also find myself in a small way in the stories of her driven dynamism, her creative vision, and the way she found fashions to compliment her small stature. If you have read my previous biographical post (here), what do find about Eleanor Brenner that particularly pulls you in? What can you relate to in her life or her talents? What do you think of ombré fashion? Here are tips on how to try ombré dyeing for yourself at home!